Why Does a Vacuum Lose Suction?
Vacuum cleaners are remarkably simple machines — a motor spins a fan that creates negative pressure, drawing air (and dirt) through a series of filters and into a collection bin or bag. When suction weakens, it almost always means that airflow through this system has been restricted somewhere along the path.
The good news: in the vast majority of cases, the cause is entirely mechanical and completely fixable at home. Studies by consumer appliance testing organisations consistently find that over 80% of vacuum suction complaints are resolved by cleaning or replacing a filter, clearing a blockage, or emptying an overfull bin. You do not need to buy a new vacuum — you need a methodical approach.
This guide walks you through the six most common causes of suction loss, in the order you should check them. Work through the steps from top to bottom; most problems are found in the first two or three steps.
Before You Start
Always unplug your vacuum cleaner from the mains before opening any panels, removing filters, or inspecting internal components. Work over a bin liner or newspaper to contain any dust and debris released during the process.
Step-by-Step Repair Guide
Step 1
Empty the Dust Bin or Replace the Bag
This is the single most common cause of suction loss and also the easiest fix. A full dust bin or bag dramatically increases air resistance, forcing the motor to work harder while delivering far less airflow at the nozzle.
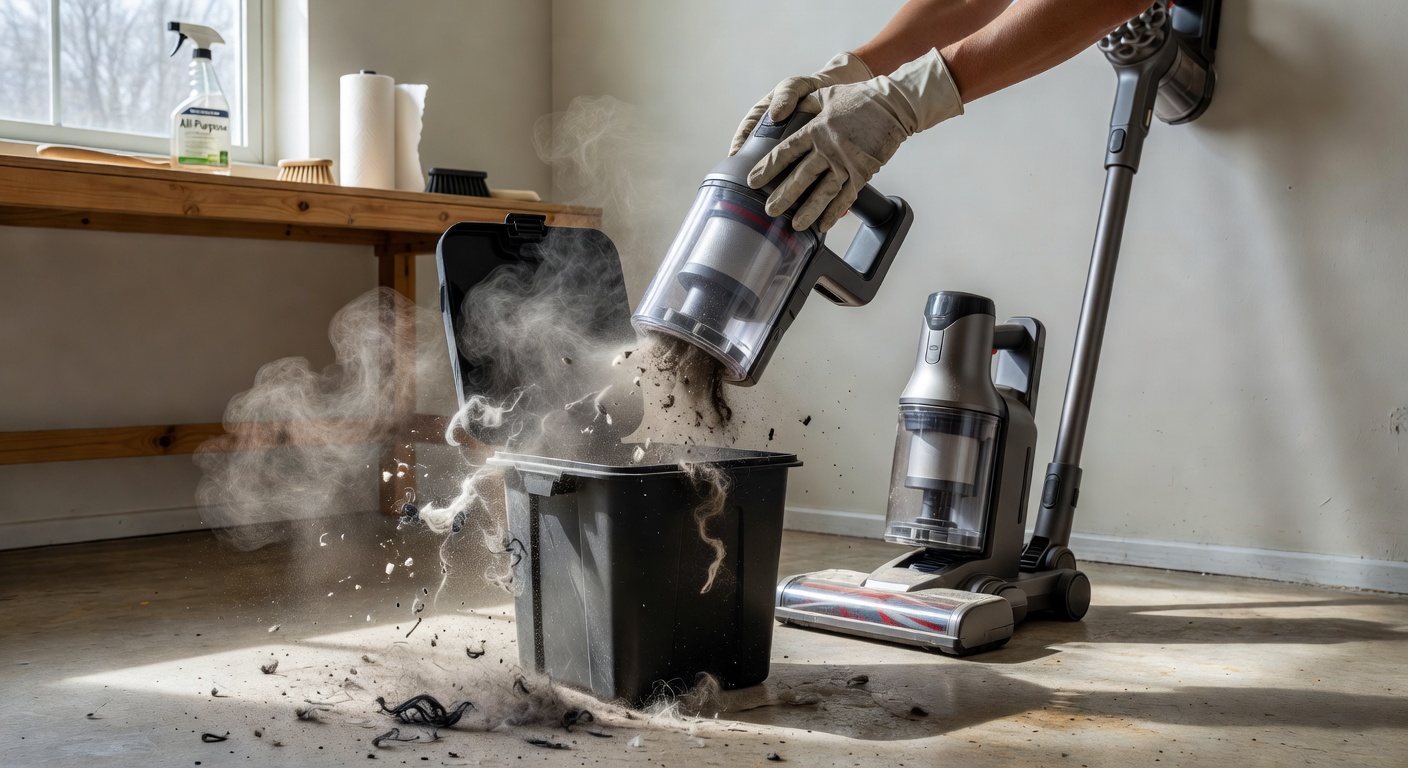
For bagless vacuums: Remove the dust bin completely and empty it into a waste bag. Do not tap it over a regular bin — fine dust will scatter. Take it outside or use a sealed bin liner. Once empty, check the bin itself for a film of fine grey dust coating the inside walls. This compacted dust layer acts as an additional filter, further restricting airflow. Rinse the bin under a cold tap (not hot — it may warp plastic), shake out all water, and allow it to dry fully before reinserting. Wet components will cause the motor to labour and may encourage mould growth.
For bagged vacuums: If the bag feels more than half full by weight, replace it. Even if it looks like there is space remaining, the fine dust that has settled into the fabric pores of the bag will be reducing airflow. Always use genuine manufacturer-approved bags — generic bags are often made from thinner material that allows fine particles to pass through, clogging the motor filter behind the bag.
Step 2
Inspect the Hose for Blockages

After the dust bin, the hose is the next most likely location for a blockage. Socks, hair ties, small toys, coins, and clumps of compacted hair are the most common culprits — and they can create a near-total seal that mimics a motor failure.
Visual check: Detach the hose from both ends. Hold one end up toward a window or light source and look through. You should see a circle of light at the other end. If you cannot, there is a blockage.
Clearing a hose blockage: Drop a coin into one end — if you can hear it hit something rather than fall all the way through, you have confirmed the location. Use a long, flexible tool — a broom handle, a length of garden hose, or a purpose-made drain rod — to gently push the obstruction through and out the other end. Never use sharp metal objects inside the hose as you may puncture it.
Check for kinks: Run your hands along the full length of the hose feeling for any sharp bends or collapsed sections. A kinked hose restricts airflow even without a physical blockage. If the kink cannot be straightened by hand, the hose section may need replacing — they are inexpensive parts, typically costing under 2,000 yen for most models.
Check the hose connections: Loose connections where the hose attaches to the body or the wand will create air leaks that cause pressure to drop. Press each connection firmly and test suction. If a joint has worn smooth, a few wraps of PTFE plumber's tape can restore a tight seal temporarily.
Step 3
Clean or Replace the Filters
Every vacuum has at least one filter — most modern machines have two or three. A clogged filter is the second most common cause of suction loss. Even if the filter does not look visibly dirty, it may be saturated with fine particles invisible to the naked eye.
Refer to your vacuum's manual to locate all filter positions. Common locations include: directly above the dust bin, inside the bin compartment lid, and in an exhaust port at the rear or base of the machine.
For washable foam or HEPA filters, tap them firmly over a bin to dislodge loose dust, then rinse under cold running water until the water runs clear. Leave to dry for a full 24 hours before reinserting — a damp filter will reduce suction just as much as a dirty one, and may cause the motor to overheat.
See our dedicated guide: Vacuum Filter Cleaning & Bag Replacement Guide.
Step 4
Clear the Brush Roll and Nozzle Head
The floor nozzle and brush roll are at the point of contact with the floor — which makes them prime locations for blockages. Long hair, carpet fibres, and string wrap tightly around the brush roll, eventually slowing it to a stop and restricting airflow through the nozzle.
Inspect the brush roll: Turn the nozzle head over. You should see a cylindrical brush rotating in a housing. Use scissors or a seam ripper to carefully cut through any wrapped hair, working from the centre outward. On most machines, the brush roll can be removed entirely by pressing release clips on the sides of the nozzle housing — this makes cleaning far easier and more thorough.
Clear the nozzle intake: Use a torch to look into the nozzle opening. Compressed air or a long, narrow bottle brush can be used to clear any compacted debris sitting in the intake throat.
Check the nozzle-to-wand connection: The joint where the nozzle connects to the wand is another common air leak point. Ensure this is seated firmly and that any rubber sealing gaskets are intact and in good condition.
Step 5
Inspect the Wand and Extension Tubes
If you use a full wand-and-nozzle setup, the extension wand itself can harbour blockages, particularly if you have vacuumed up something bulky in the past and heard a brief noise as it was sucked in. The narrow diameter of extension wands makes them particularly susceptible to hair and paper clogs near the ends.
Detach the wand from both the hose and the nozzle head. Shine a torch through each tube and confirm that the full bore is clear. Drop a marble or small ball bearing through if you are unsure — you should hear it roll continuously from one end to the other without stopping.
Also check the locking mechanisms at each wand joint. If these are worn, the joint will not seal tightly, allowing air to bypass the wand entirely rather than travelling through it. A piece of plumber's tape wrapped around the male connection point can restore the seal.
Step 6
Check for Cracks and Air Leaks in the Housing
If you have completed all the steps above and suction remains weak, the problem may be a crack or split in the vacuum's outer housing or internal ducting. Air leaks anywhere in the sealed pathway from nozzle to motor will reduce suction at the point of use.
With the vacuum switched on, run your hand slowly along all external seams, the base of the body, the bin compartment rim, and around any service panels. You should feel a gentle outward flow of air only at the designated exhaust vent. Any other airflow indicates a leak.
Small cracks can often be sealed with a strong adhesive tape (gaffer tape or specialist appliance repair tape) as a temporary measure. For more significant damage, check whether your vacuum manufacturer offers spare housing panels — on popular models these are often available and reasonably priced.
If suction remains poor after all six steps, the issue may be with the motor itself. A failing motor typically produces a noticeably different (often higher-pitched or strained) sound. At this point, weigh up the cost of motor replacement against the age and original price of the machine before deciding on repair or replacement.
Important Warning
Never run a vacuum cleaner without its filters in place, even briefly for testing. Running without filters allows fine dust and debris to pass directly into the motor, causing accelerated wear and potentially permanent damage.
Pro Tips for Maintaining Suction Long-Term
- Empty the bin before each use, not just when it looks full. Starting each session with an empty bin means the motor works at peak efficiency throughout.
- Tap washable filters monthly even if they look clean. Fine particle build-up is invisible but highly effective at blocking airflow.
- Cut hair from the brush roll every 4–6 weeks, or more frequently in households with long-haired occupants or pets.
- Never vacuum up wet debris unless you have a wet-dry vacuum specifically designed for it. Moisture in a standard vacuum destroys filters and encourages mould growth in the dust bin.
- Store the hose loosely coiled, not compressed into tight loops that can create permanent kinks over time.
- Check the manufacturer's recommended filter replacement schedule — even washable HEPA filters have a finite lifespan and should be replaced every 6–12 months depending on usage.
Related Articles
Advertising supports our free editorial guides.